Yarn Questions for Giveaway.

This post will basically cover any questions you have about the yarn as it seems I can not reply directly to the comments. SO here goes.

Q: How much does the yarn sell for?

A: Normally I retail my hand dyed , mill spun yarns for $24. My hand spun yarns are a little more expensive. Right now I do have some bundles for a greatly discounted price as they are from a different base supplier and dye test samples.

Q: Is this dyed with Kool-Aid?

A: Unfortunately no. Although I have tried using Kool-aid and food coloring when I first started dabbling into dyeing yarn. The Neon's from McCormick gave me the best results but I wanted to be more professional with my process. So all my yarns are dyed with professional grade acid dyes.

Q: What is the fiber content? How much does is weigh? What size is it? How many yards?

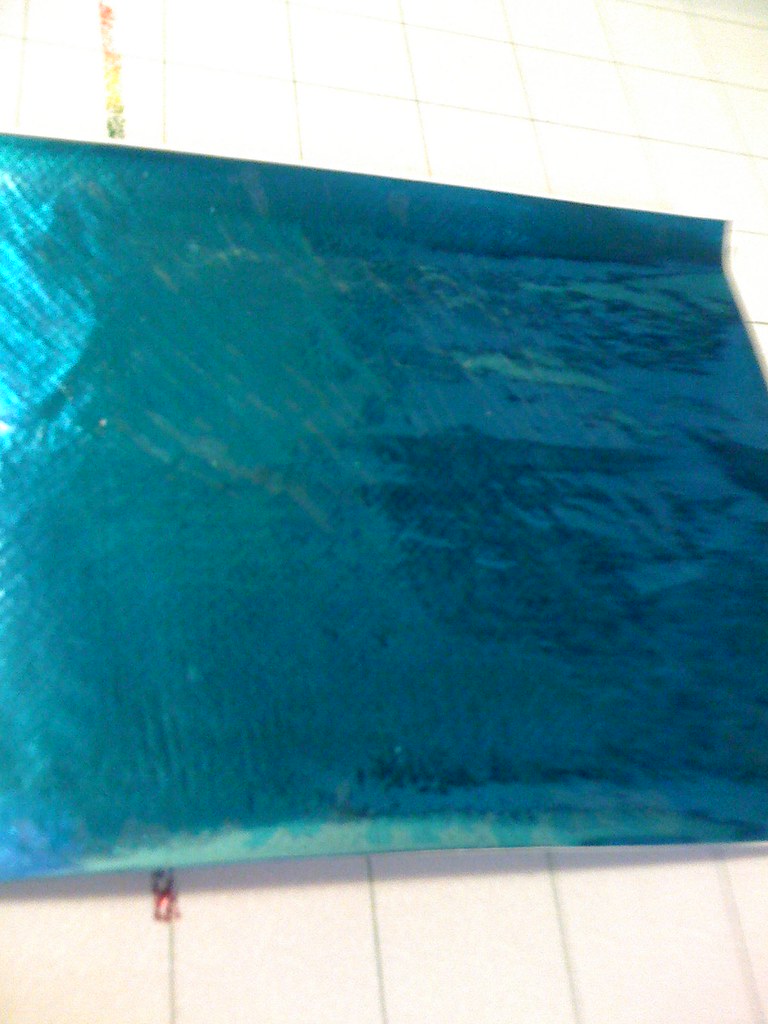
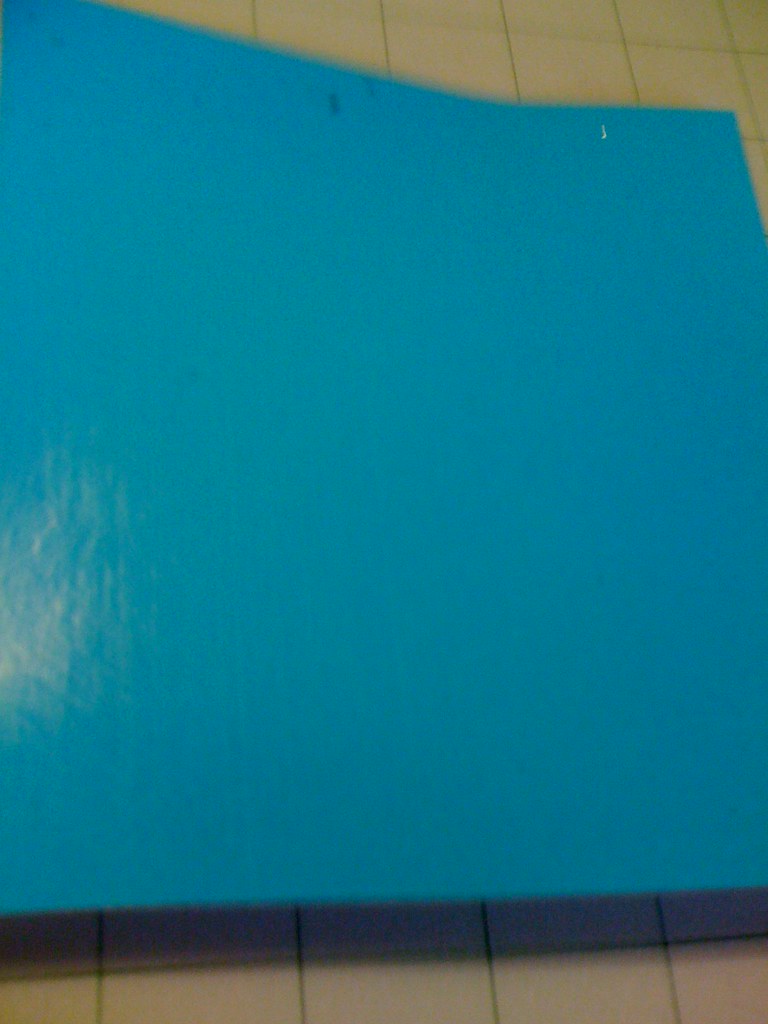
A: Well this is a 100% Wool Yarn. They each weigh 100g. It's a worsted yarn and runs about 200yd each.

Q: What is this colorway called?

A: This is our "Electric PRIDE" colorway is it a neon rainbow variegated yarn. It also comes in a self striping version. 

((Winner Announced)) What The Flock! Hand Dyed Yarn Give Away!


 Update: August 7th Wed 6pm

OK so the Giveaway winner has not come forward in the 72 hours to claim their prize an as stated I will draw a new winner.

and the New winner is.....................................................

Virginia Sattler-Reimer

Update: August  4th Sunday 8pm

We have a winner.

But first I would like to thank everyone who entered and I would like to also send a BIG thank you to Michael Sellick for helping spread the word on The Crochet Crowd.

Envelope please ((((drum roll))))   And the winner is......

Mary Ellen Meier. 

winner was chosen at random by a random name picker. If prize goes unclaimed after 72 hours another name will be drawn.

Update: August 3rd 2013 - 12am
 Entry submissions are now closed off and all the qualifying names are being collected and I will be posting the winner by or on Monday.

Hello Everyone,

It is with great pleasure that I would like to announce the birth of "What the Flock! Hand Dyed Yarn." My new hand dyed yarn business. To kick off this celebration I'm doing a Give Away.

So lets start off with what you'll be getting.
3) 100g Skeins of 100% Wool / Worsted Weight / approx. 200yd ea. in the colorway of "Electric PRIDE"


So now you ask, How do I enter? Well all you have to do is leave a comment below to enter.

Winners will be chosen randomly through a random picker app. Contest begins July 19th 2013 and end August 2nd 2013 at 12am eastern time.

While you're at it check out our facebook page over at What The Flock! Hand Dyed Yarn

Rules:
Must be 18 years or older.
Have a valid e-mail adress to be contacted by.
To those posting anonymous if you choose not to leave your email at least leave a name.
winning entry's comment will be posted on the blog as well as the name.

DIY: Yarn Dyeing with Food Color

Hey Everyone, 

Long time no see. It's been awhile since but I think this one is a great one and will make up for lost time.

I'm going to teach you how to dye natural protein fibers with things you may already have in your kitchen. Yup that's right you heard correct. I'd like to give a huge shout out to Sarah over at Dyeyouryarn.com for having such a helpful site. This is why I'm bringing it to you guys. So let's just get right into then shall we. 

Things you'll need:
Water
Gloves ( to protect you hands)
Microwave safe containers (this is for the dye baths)
Food Color ( Wilton's, McCormick's or Kool-aid the unsweetened kind)
Vinegar
Paper towel or Cloth towel (optional)
Tongs (optional)
Measuring Cup (liquid)
Measuring Spoons
Microwave
Natural Protein based fiber ( Wool, Wool Blend, Alpaca, Angora, Silk)
Scissors
Scale (optional)
measuring tape/ruler
Thermometer

OK so the things that I used are a 12pk of Mason Jar for canning, 4pk of Mcc Neon food color and 4pk of Mcc Assorted food color, Vinegar, Lion Brand Fisherman's Wool 100% virgin wool. 

This tutorial is going to show you the steps you need to get about 96 colors excluding anything in the black family. 

Dye bath ratio will be as followed. 
4 drops food color
1tsp vinegar
8oz water
3 yards of yarn or .2 oz if you're using a scale

(you just want to make sure you have enough water to cover the yarn so that it doesn't burn or scorch in the microwave) 

Getting Started:

1. measure and cut as many 3 yard mini skeins as you're going to need. 
2. Soak mini skeins in warm water with a touch of vinegar for about 15 to 20 minutes (this will help with the dye take up in the bath later)
3. prepare dye baths ( follow the dye bath ratio above. just make sure that for every 8oz of water you use 1tsp of vinegar . the dye drops do in multiples of 4 and your yarn yardage will vary you just need to make sure that the water covers all your yarn)

Dyeing Yarn:

1. Pull 1 skein at a time from the pre soak and place it in your dye bath. 
2. Place dye bath container in your microwave and heat on HIGH for 1 minutes remove check temp, if it reads 180 degrees Good. if not put it back in for another minute and check temp again until it reaches 180 degrees. remove from microwave and let sit for 30 - 45 or until cool enough to touch. 

*Depending on how much yarn is in your bath the dye will have exhausted and your water should be clear. with smaller test batches will probably still have dye in the water. 

3. Empty out dye bath and rinse off the yarn in warm water and squeeze out yarn till water runs clear. Let yarn dry. 

So that's it's you've dyed you're yarn. It's that simple.

Hints and Tips:

Blue dyes may need a little more vinegar to help take and some extra heat setting as well. 

So here are some pics of the color batches so far. I will be posting the other results in the next couple of days as they are finished.


Upon finishing the red tests I've noticed that my first 3:1 batch seemed a little odd and that it produced shades of pink which confused me and caused me to redo it which in turn produced the proper colors. I think it's due to the fact that the vinegar I used for that first batch was from the yellow tests that had been sitting out over night and may have lost some of it's punch because the heat and the drop ratio were correct.
So I guess this a happy accident that produced some nice shades of pink for me.


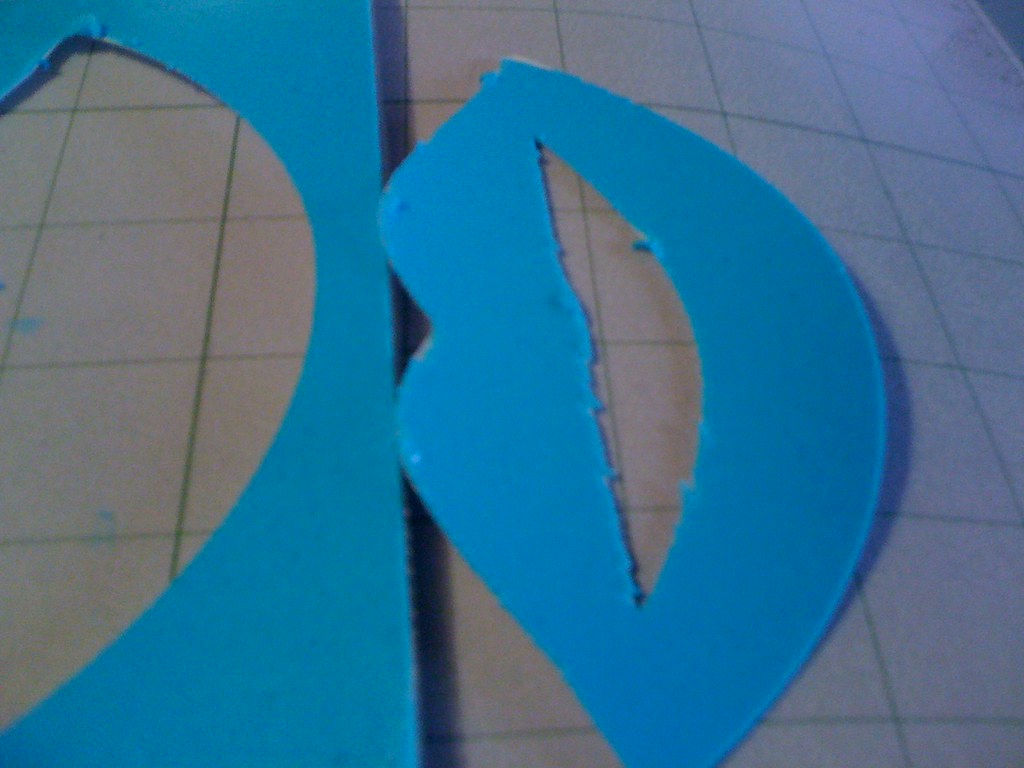
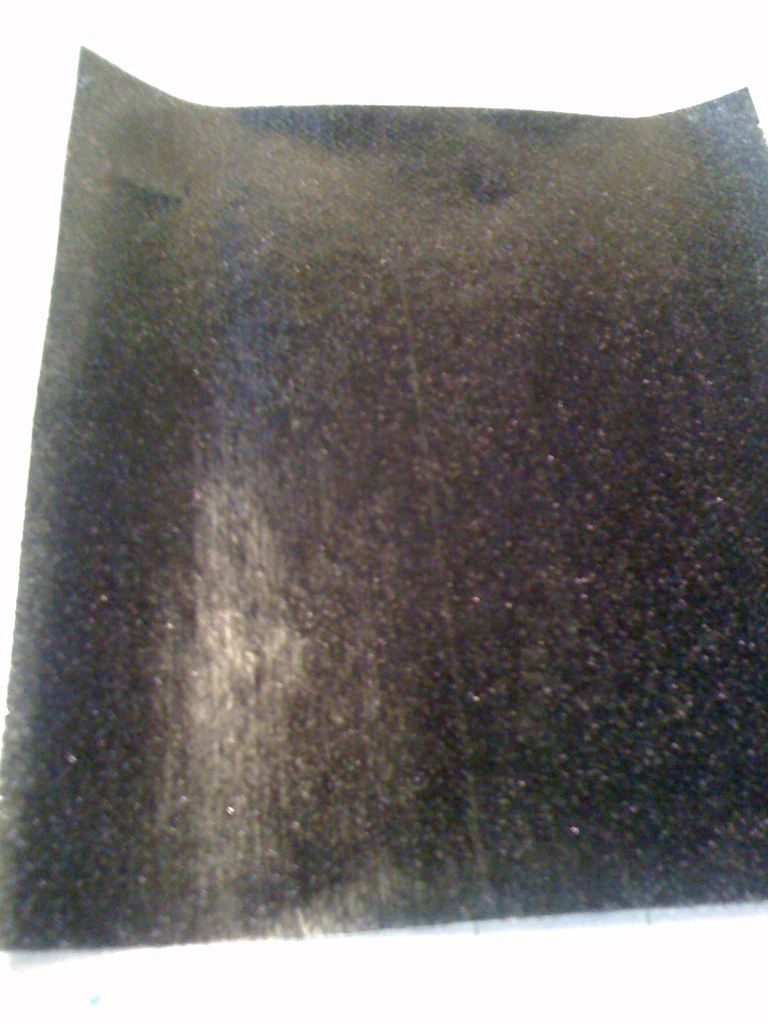
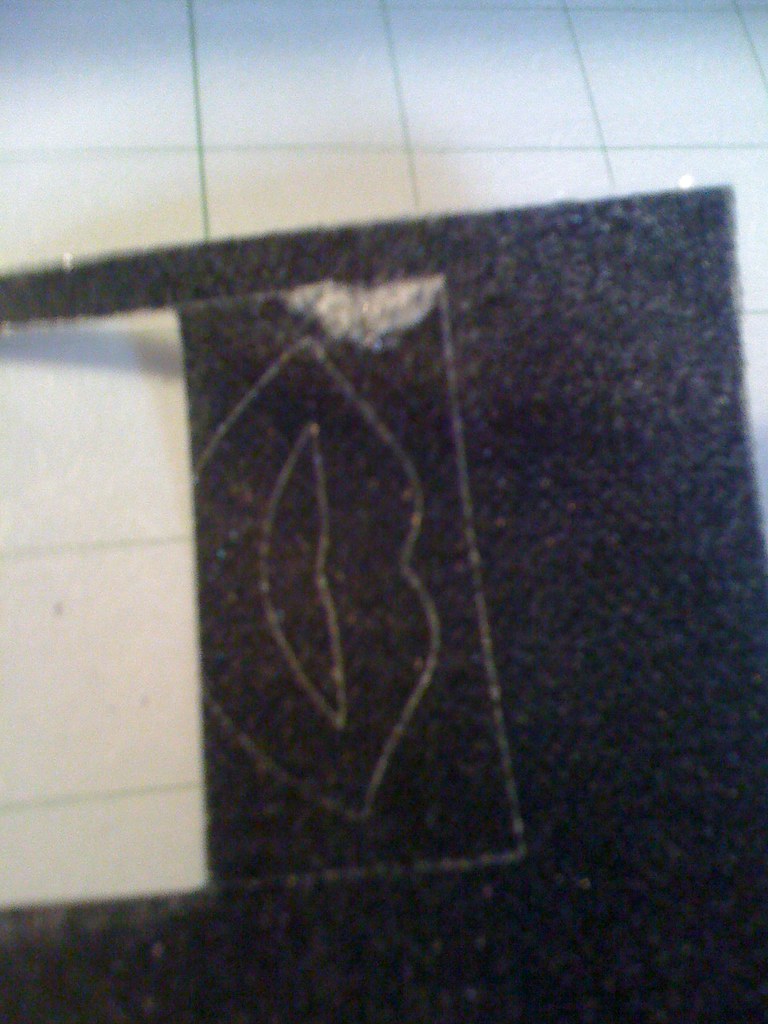
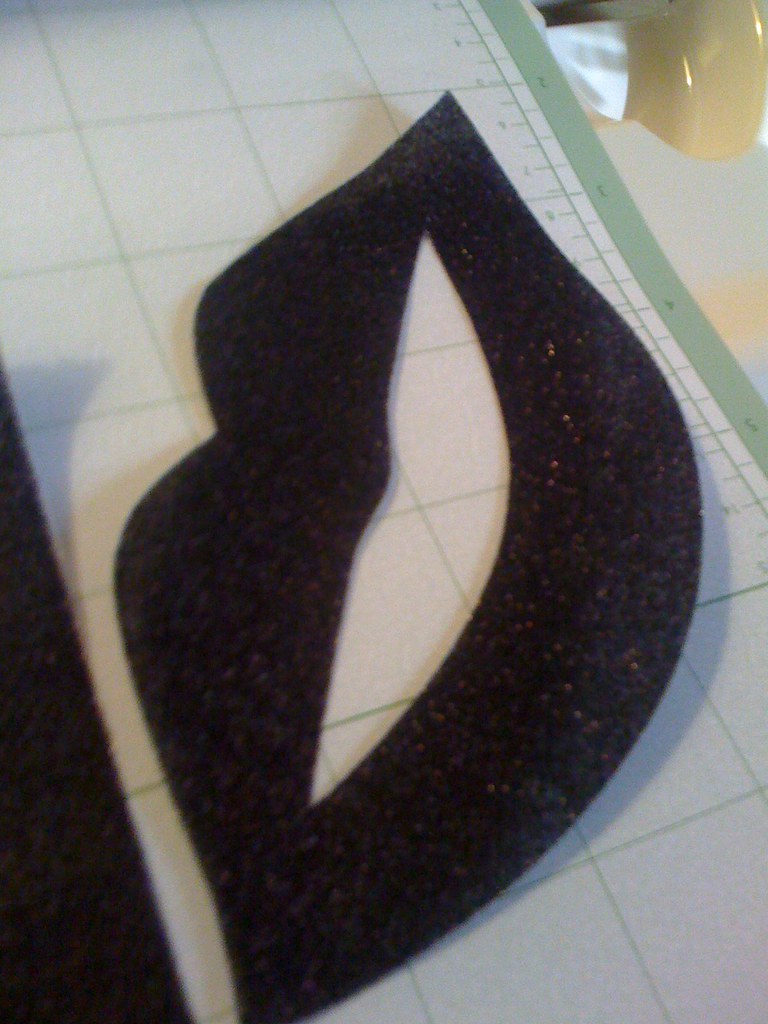
Operation DIY Paillettes !

Hey Everyone, 

So here I am with a brand new DIY project. It's for making Paillettes on a pretty reasonable budget. 

I'll start off with a little back story on why I choose this as a project to take on. I've always loved shine things and i've always love 70's type fashion, plus i've been eye balling this knitted dress pattern for ages and though "well hell paillettes would just set this thing off." So on went the retail research with no luck. I did find them and at a great price but shipping was really unreasonable. Still buying them isn't totally out of the question after this though. Now on with the tutorial.

First you'll need to gather some supplies. 

Acetate Sheets ( Transparency film ) this is the stuff you can find at an office supply store for over head projectors. You'll want to get the type you write on and cannot be printed on using printers. Basically what I'm trying to say is make sure they are 100% CLEAR! :)

Adhesive - some kind of glue. You can use mod podge, watered down elmers, watered down tacky glue ect... I used a basting spray or temporary spray adhesive for this demo. 

Transfer foil - You'll find this stuff in most craft and hobby stores and online. It can get a little pricey but if you know what you're looking for you'll get some good deals. It's also the same as heat transfer foil used on T-Shirts. Some brands you can look for are, Martha Stewart Crafts, Tulip I love to create, Simply Silk Screen Foils, YuDu Foils, Jones Tones and any Screen Printing supply place on line will usually have it. 

 (LEFT: Jones Tones Rainbow Foil / CENTER: Martha Stewart Crafts Foil / RIGHT: YUDU Foil )

Die Cutting Machine - I used a Cricut Expression but which ever cutting machine you have access too will work. 

Computer of Laptop - I used a laptop cause it's easy to take up and down stairs 

Software that will work with your cutting machine - I used sure cuts a lot 2 but like I said which ever will work with your machine.

Also you'll need something to smooth down the foil and something to scrape up the paillettes from the cutting mat.

OK, so now that you've gather all you're supplies let's begin to make something shall we. 

Step 1: In researching Paillettes I've come to notice there was a standard size and 2 forms of that size. 20mm and with a small and large hole. Since the paillettes I want need to work with knitting I need to make the large hole style and the hole is usually 4mm to 6mm. Since my software doesn't have a milometer setting and only works in inches I had to do some conversion. 20mm is roughly 3/4th of an inch and hole needs to be roughly .20 to .25 or 1/4 of an inch. You can make the paillette larger but for what I want to do I kept it at a standard size. but 1 inch circle wouldn't hurt. 

I've also set it up so that it's fitting a 8.5 x 11in sheet. there are 10 across and 12 down for a total of 120 pieces.If you happen to purchase the 12x12 sheets of acetate film you can fit 13pcs x 13pcs on a sheet. 


Step 2: Preparing your film. you'll want to cover you're work area to protect it. Apply you adhesive to the film and let dry till it is tacky. I used a spray adhesive so it got tacky pretty quickly. Next you'll want to cut your foil transfer sheet a little bigger then your transparency film. Yes you'll waste some product but it's really not that much that you'll need to worry about cost. 
Once you've cut your foil sheet to size lay the foil sheet onto the sticky side of the transparency with the foil side facing up. Use your smoothing tool to rub over the foil making sure that it's sticking. Let everything sit for a couple of seconds to make sure it is bonding. You can now peel the foil off. Since I used spray adhesive I got a distressed look to my foil.

Step 3: Now that your film is ready follow your machines instructions on how to feed your materials. Since I used a Cricut Expression. I placed it on my sticky mat and loaded it in. Now I setup my machines cutting setting. with this film I have the blade @ 5 the pressure @med/high or 4 and the speed @ low/med or 2. Then I pressed cut on the software.


Step 4: Once everything is done cutting. Take it out of the machine and peel away the exterior part of the cutting. Then start popping the paillette pieces off the mat with a scrapper or spatula.
In this process you'll probably lose some and or get some defected or broken ones.


And here is your finished product. Not bad for a DIY project. A little time consuming but I really enjoyed the process and when the whole project I plan to use these in is complete I can actually say I made everything.

My next test with the film is alcohol inks and I need to find some iridescent stuff too. The foils come in all kinds of styles besides the metallic so you may want to try different things out. When I try the Alcohol Inks out I'll post about that as well.

Thanks for joining me and sharing in my experience. Til next time.

Long Over Due !

WOW! I am long over due for an update to this blog. As of tonight I think I will commit to updating once a week on my day off. Unless there is nothing to blog about.


Product reviews and demos pt. 2

Ok so I've finally be able to test some of these products as far as prepping and cutting goes. Some of the products failed in this 1st testing experiment. but I still have another one to do with them before I give you a final and over all conclusion as to the best method and what to buy. 

So today I used a couple different products that I'll list below. 

Martha Stewart Crafts Flocking, Glitter & Foil sheets ( 3 different products )
Provo Craft Yudu Foil and Flocking sheets ( 2 different Products )
June's Tones foil transfer 
Heat & Bond Lite
Cricut Transfer tape

So what I basically did for this test is cut big enough pieces of the Heat & Bond and applied it to the proper side of the transfer materials so that I can have them ready for cutting in my Cricut. This step was successful. 
Now came to the mounting and cutting part. Mounting the foils onto the cutting mat was ok until you had to pull it off to readjust. This caused the paper to come off and basically making it very difficult to handle even with the Heat & Bond attached. So this method with foil is a FAIL right out the gate because I didn't even get to cut it. 
Now on a side note. I did have success with my second method using the Heat & Bond. And that's basically cutting your shapes or whatever out first them pressing the Heat & Bond on your shirt then doing the foils on top of that. But I'll go over this method in Part 3 a little later.

Top: Marth Stewart Crafts Foil   Middle: June's Tones foil  Bottom: Provo Craft Yudu foil

Next I went with the flocking. Heat & Bond onto the flocking. the MSC flocking has a plastic sheet backing and the Yudu flocking has a heavy paper backing on it. Everything went well up until the cutting. This method did not cut the flocking so good even with proper settings. The flocking would just tear and look over all crappy with the cuts. So this is sort of a FAIL as well. 
Top: Yudu Flocking  Middle 1: MSC Flocking  

So lastly I have the MSC glitter. Heat & Bond placement great. Cutting was a half and half. You can't really do a kiss cut with this method because of the glitter but the plastic backing sheet on the glitter is thin enough to cut full through and get a good result but still not what I was looking to accomplish with this product. 
Top: MSC Glitter sheets  Middle: Kiss Cut method (Fail) Bottom: Full cut method. 

I'm going to try 1 more test and see how that comes out this way I can do a final comparison and give you an overall idea of what is the best way to go with these products . Stay Tuned!

Product reviews and demos

Hey Everyone, 

So I've been buying a lot of products lately for T-Shirt design. Mainly to see what is out there on the general retail market for the everyday consumer so to avoid the endless hours of online combing for the lowest wholesale market specific prices and vendors.

As far as the garments go, I've only used one vendor so far out of New Jersey. Their shipping was extremely fast and product overall was a 9 out of 10 . Sizing is very good especially for the plus sizes that run long to accommodate for belly room in the shirt. 

I've been buying some 8.5 x 11 glitter heat transfer sheets made by Tulip Brand. Retail wise they run you 14.99 and you get 4 sheets per package and they have 3 different color packages to choose from. I've been mainly using the Urban pack which is has Purple, Pink, Multi Silver and Aqua sheets. I've been using my Cricut Personal to cut out my designs from the sheets then weed my design ( take away the excess material) then place and heat press using my iron.
Tulip Fashion Glitter Shimmer Transfer Sheets

Instructions.
*Cutting these glitter sheets on a cricut machine you want to place the shiny poly side down and the backing side up. set the blade dial to 3. your speed to 2 and your pressure to 2 and cut. NOTE: make sure your images are cut in reverse or flipped so that when you put it on the garment it's facing the right way.
*Weed your image.
*Place image on shirt, have iron at the highest setting usually COTTON, no steam. If using a pressing sheet ( silicon or wax paper ) keep iron moving over the whole design do not let it stay in one place for a long period of time because the poly sheet is not heat resistant and will shrink and melt. This is the only CON to the product. also you want to make sure you do a 10 second count and peel hot to warm. full cooling will cause the adhesive on the poly sheet to really stick to the garment and may cause the glitter transfer to pull off.
 This is an example of the Aqua Glitter Sheet

The next product I've used is Foil transfer sheets. This product is applied using adhesive with the option of heat. So far I've purchased 4 brands and have only used 2 out of the 4 since I've just recently purchased the other 2.

June's Tones Foils ( they also sell adhesive) one that I've already tried.
This Product comes in a few forms. you can get a 16pc value kit with different types of foils that are 6x12in sheets for around $13. You can also buy by the sheet 6x12in or 12x12in and a 12in x 50ft roll ( best value) as low as $31.20. I haven't seen this product in stores and I've just ordered directly from the company's website.
The cross bones are the Junes Tones Rainbow foil. I used Heat & Bond cut out shapes as my adhesive.


Simply Screen Foil Sheets by Plaid. ( they also sell adhesive) second I've tried
This product comes in a 6 sheet pack of 8x11 sheets for 9.99 but I haven't seen them in the stores anymore which has caused me to look at other products of the same type

Martha Stewart Crafts Foil Sheets ( adhesive also available ) not yet tried
This products comes in a set of 6 sheets you get 3 different colors in each package. There are 3 different color sets to choose from as well. The sheets are 6x7in and sells for 9.99 - 11.49. So far I've only been able to find the at Michaels.

YUDU Foil Sheets by Provo Craft ( adhesive also available ) not yet tried
This product comes in a set of 6 sheets and 2 colors in each package. There are 5 different color sets to choose from. Each sheet is 12x16in and sells for around 9.99. I haven't seen these in store yet. Jo-Ann's website does carry them you can also find a few online retailers or directly from Provo Craft. 

Martha Stewart Crafts also has a line of Glitter transfer sheets at the 6x7in size but you need adhesive for this. And she has a line of Flocking which again you need adhesive.

Provo Craft also carries Flocking sheets and you'll need adhesive to do the transferring over to your garment. These run you alil more price wise and you only get 4 sheets in a pack and 2 colors with 5 different color sets to choose from. Same sizing on sheet 12x16in. 

Once I test the rest of these products I'll post pictures and instructs on how I use them and do a "bang for your buck" comparison on everything. My next step is to get the actual heat transfer vinyl, glitter and flocking that does not need adhesive you just cut, weed and press. The products listed above you have to take and extra step.


My suggestion is that if you do decide to purchase these or any of the products that are carried in major crafting retail chains is to keep an eye out for coupons usually you'll find 40% - 50% off ones for Jo-Ann's, AC Moore and Michael's

Long over due.

WOW! It's been awhile since I've updated so I think better take the time and do so.

I guess I'll just give alil run down of what been going on since last time to keep everyone up to date. I've finished a few quilting tops. Also started a few tops and completed some quilts as and and I think I have 1 in the process of being quilted now for completion. I've also jumped backed into the whole T-shirt thing, but this time using heat transfer stuff such as, foils, vinyl, flocking and glitters. Trying to come up with some more designs to hopefully start selling by the beginning of the year. In other news my day is great was awarded employee of the quarter this week for 3rd quarter of the year. Was a very nice surprise and it's really cool to feel appreciated for the efforts I make everyday.

So I think over the next few weeks I'll glance over my blog and tie up some loose ends as far as some tutorials I've half assed on here and need to finish up. Also thinking about doing some more "Give Aways" I just gotta think of what will be fun . I just like to share and give back and make someone's day alil brighter. So I promise i'll be back within the next week to get this blog back in gear :)

Start Quilt for Dummies : Part 1

Hey Everyone,

So it's been a bit and I figured I'd do a little sew a long / lesson for everyone. I've decided to, and as you can probably tell by the title, make a Star Quilt of the Lone Star / Bethlehem style. All the photo's i'll be posting is my second attempt. I do have photos of my first but I got as far as trying to square up my final pieced diamonds and ran right into an EPIC FAIL. So I walked away for 2 days and came back with a clear head and got the job done. Well all 8 diamond pieces that is. Anyways lets just get to the fun :) Sit back enjoy and sew along if you'd like. 

Step 1. RESEARCH ( I've covered most of this for you here but still it's fun to do alil research of your own ) I've found a few links mainly videos I'm happy to share with you. 
First up is www.fonsandporter.com  , you may have to subscribe to their video feed to view the video on the bethlehem star. There are 2 parts to that series in the the 1400 series video 1401 and 1402. 
Next up is Jan Krentz full DVD on how to make a Lone Star Quilt. This one is a 3 day rental on Youtube that runs 3.99,
Last but not least and I think the most fun is Quilt in a Day - Radiant Star Technique , which is FREE and gives you some good tips. There are also some basic stuff floating around the internet too but nothing I felt was worth mentioning .

Step 2. Picking your fabric. I used a Jelly Roll of a fabric collection I bought at Joann's. Usually Jelly Rolls will have fabrics that all go together and from 1 whole collection. As mentioned the first star I did was crapped but I only used 10 strips from the Jelly Roll on the that star and the other 10 on the new one. Jelly Rolls are 2.5in x 42 - 44 in strips of fabric .

Step 3. After you've picked you're fabrics you can begin cutting. If you're using a Jelly Roll then no need to cut the strips because the work is done for you. If cutting you'll need to cut as many 2.5in strips selvedge to selvedge in all the colors that will be in your final pieced diamonds. 

At any time feel free to click on the images to enlarge them to get a better view :)

OK so now I'll walk you through everything I've done so far.
In the pic above I've picked out the strips I want to use for my diamonds to make my star and also the fabric I want to use as my background. I've set my strips in 3 rows of 3 since you'll be making a 9 piece diamond. If you look closely you'll see the pattern the colors will make in the end. The 2 full orange pieces are the top and bottom points.

This is how I laid out my fabric rows to get the ready to make strip sets.  

Row1A - Row1B - Row1C  /  Row2A - Row2B - Row2C  /  Row3A - Row3B - Row3C

Keep this in mind later on as well when you as piecing the rows together . 

Now you'll want to sew your strip sets together with a 1/4 in seam. You'll want to offset each fabric in the set so that when you go to cut a 45 degree angle later on you won't be wasting a lot of fabric. Remember each strip set has 3 strips only for this pieced diamond. 


Once you finishing sewing your first 2 strips together press your seam open rather then to 1 side. This will help you later on when you are piecing. Now sew your 3rd strip on, again offset the strip because of the 45 degree angle you'll be cutting. After you sew that strip press the seam open. and repeat this process for other 2 strip sets.

Pictured above is the way you'll want your strip sets looking when you are about to cut your new sections. You'll want to find the 45 degree angle and TRUE UP the end of the strip set so that you will get your diamond section rows. Once you do this you'll be ready to cut small strip sections on a 45 degree angle. Those sections will be cut at the same size the strips were wide which would be 2.5 inches.
You'll also need to cut 8 strip section for all 3 strip sets to get all the parts you'll need to make the 8 larger diamond that will make up your star.

When you're done cutting you should get 3 piles like this :)


This pics shows a mock up of the final diamond and how it should look.

In the pic above I had to do a drawing of how the row pieces get sewn together. Remember to do right sides facing and you'll also want to use spray starch and pins for this. Trust me it helps A LOT. So once you connect Row 1 to Row 2 repeat with Row 3 then do this process 7 more times to make your 8 ( 9 pieced diamonds )


Once all your diamonds are done press the seams open and WOW you've complete a whole 9 piece diamond that will become 1 point of your star.

Now you can lay out your full star on a table or a design wall and see how it looks. You can also audition your background fabric now too, to see if you like it or want to change it.

So there you have it folks the 1st part to my Star Quilt for Dummies sew a long.Keep any eye out for part 2 of the journey and any questions feel free to to email me at ananyimusic@aol.com

Fabric Overload !

HELLO Everyone :) 

Well it's been a awhile since I've last posted, I've just been busy working and what not. But right now I just wanna share my latest collection of fabrics I've acquired. I went alil nuts at Joann's today they had alot of stuff on clearance and on sale and I just couldn't help myself.

To get a better look just click the images to enlarge. 


Powered by Blogger.

Fans